[UE Deformer Graph] how to feed CPU data to the deformer graph with animation attributes or variables
Pre-requiste
A vague level of understanding of what is a level sequence, timeline and keyframes, and the control rig asset is needed.
Introduction
I will describe the Animation Attributes node of UE's deformer graph.
This node fetch data from the control rig asset associated to the skeletal mesh being deformed.
In addition, I'll also present how to set variables variables in the control rig and retrieve them from within the deformer graph. (we can also set variables from blue print)
Animation Attributes
Animation seems to only work when the model is referenced in the timeline of the level sequencer.
It's a bit cumbersome to use, and if you don't plan to go the level sequence route,
you will probably prefer the next section about variables.
Deformer graph setup
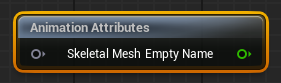
Clicking on the Animation Attributes node
You can access it's properties in the Details pannel
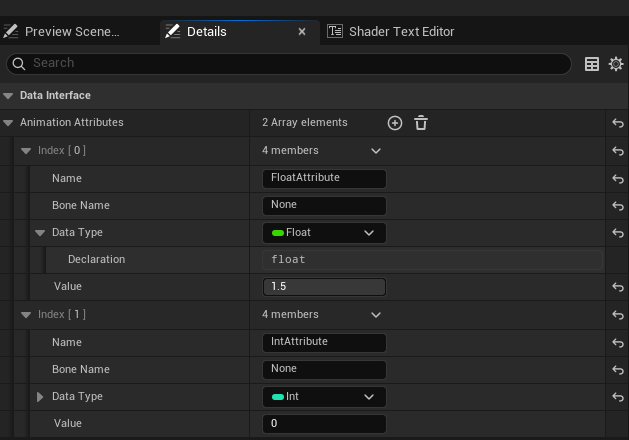
In this example I have setup 2 attributes named FloatAttribute and IntAttribute.
Value
The field value is the default value, this value is used when previewing the skeletal mesh in the deformer graph editor,
or skeletal mesh editor for instance. Though you can modify the animation attribute value via the control rig,
even when that is the case, default value is used in many editor's preview viewports.
It is also used in-game if the skeletal mesh is not referenced in the timeline of the map's level sequencer.
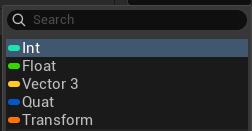
Data Type
Only a couple of types are available by default:
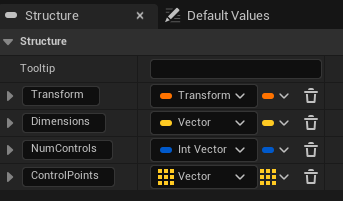
However, an animation attribute can use a custom struct asset. From which, most types like array, maps etc. are available:
Bone Name
Bone Name allows to associate a bone to an attribute, if set to None attributes are associated to the root joint.
Dynamically change values
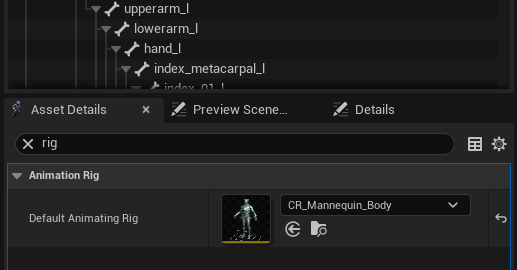
Now to effectively change values given a specific asset and point in time, we to setup both a control rig and a level sequence asset. Let's start with the control rig, we assume a control rig asset is now assigned to some skeletal mesh:
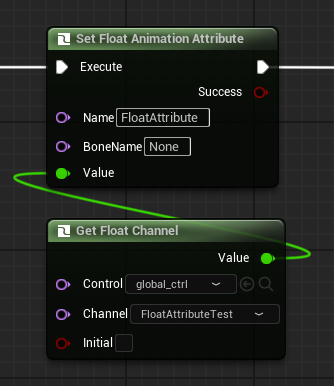
Let's go inside the control rig asset:
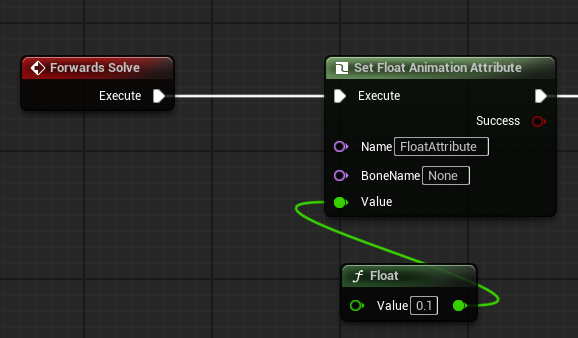
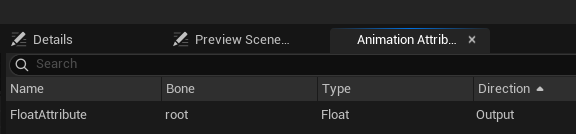
In the above, we connect Set Float Animation Attribute to the Forwards Solve event. You can compile the control rig and check in the right panel that your animation attribute is properly listed:
Now, for the value set in the control rig asset to be actually applied, we need to add the skeletal mesh into the timeline of a level sequencer
(complete explanation of level sequencer is out of scope of this article).
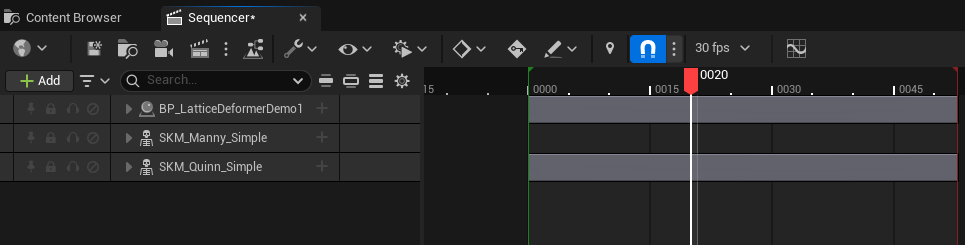
Below is an example of a level sequence asset that drives 1 blue print actor and 2 skeletal mesh assets.
When used in a level sequencer control rig animation attributes will get computed.
In other words, the value of the animation attributes set in the control rig,
will be reflected in maps that make use of this level sequence asset.
Ok, but for now we only used a static value, how about using the timeline of the level sequencer to change the value of this animation attribute?
Well, to expose to the level sequencer an animation attribute, you will need to go through additional setups in the control rig asset.
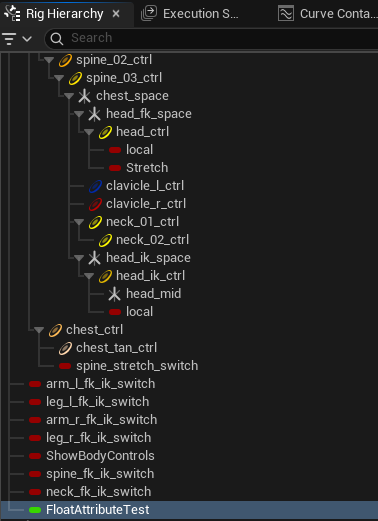
Mainly it seems only controls under the Rig Hierarchy of the control rig are exposed.
Go to the Rig Hierarchy tab of your control rig asset:
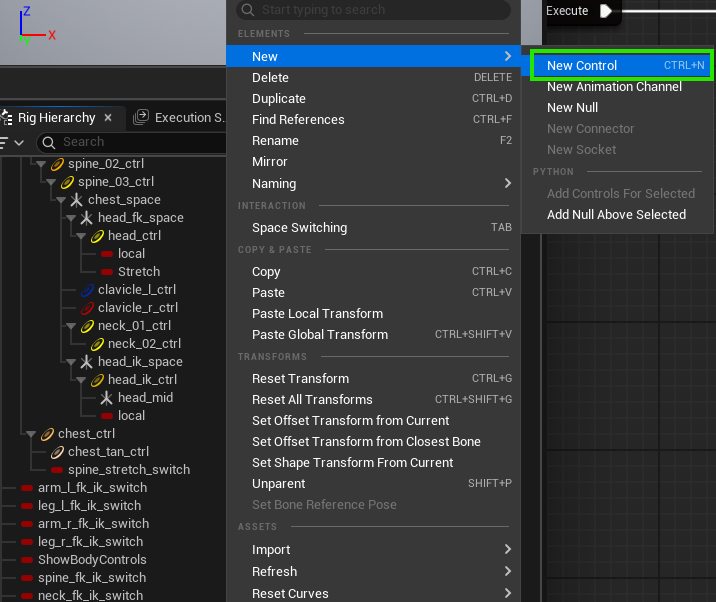
Now add a control ( ![]() or ctrl+N )
or ctrl+N )
One possible way to set it up is as follows:
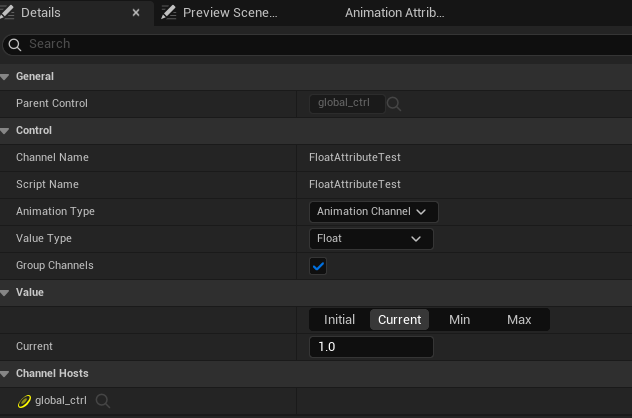
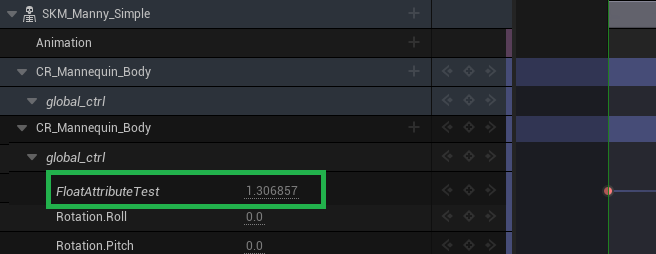
Set it as an Animation Channel set Float as type. This setup necessitate to add another control the Channel Hosts section, this control should be the parent of our FloatAttributeTest control. You can now drag and drop this control from the hierarchy panel to the graph:
Now this control should be available in your level sequence asset:
Note that sometimes it does not appear right away so some level of fiddling with UI (closing windows, re-compile etc) may be needed. From their you can add keys to the timeline and drive the value of this attribute. (again keyframe etc are out of scope)
Variables
You can drive the deformer graph with blue print! To customize the deformer graph parameters without a level sequence you can define variables inside the deformer graph and change their values from within blue print.
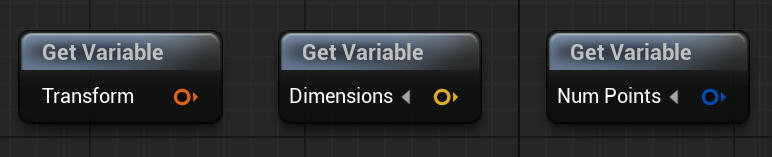
Let's define a variable inside the deformer graph, go to the left pannel under the explorer tab and hit plus:
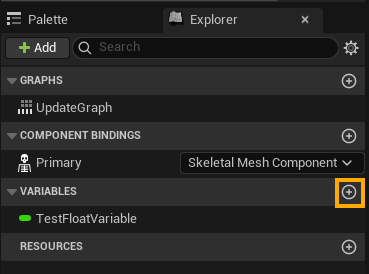
Click on the new entry, you can now set the variable type, default value and name (right panel):
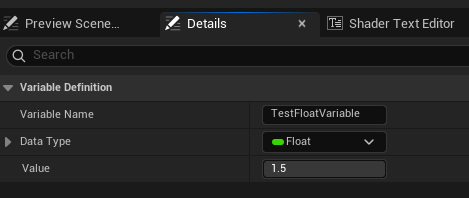
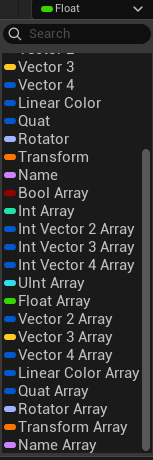
Example of types available for variables:
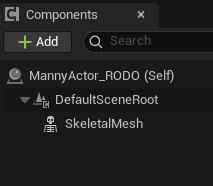
Now let's create a Blue Print actor with a skeletal mesh component (basic blue print usage, Actor blue print, Components etc are out of scope):
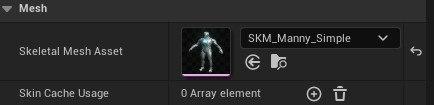
In this example we assign to the skeletal mesh component an existing skeletal mesh asset:
The skeletal mesh asset is also assigned the deformer graph with our variables defined within. Below is how you retrieve the deformer graph instance from the skeletal mesh component and set its variable:
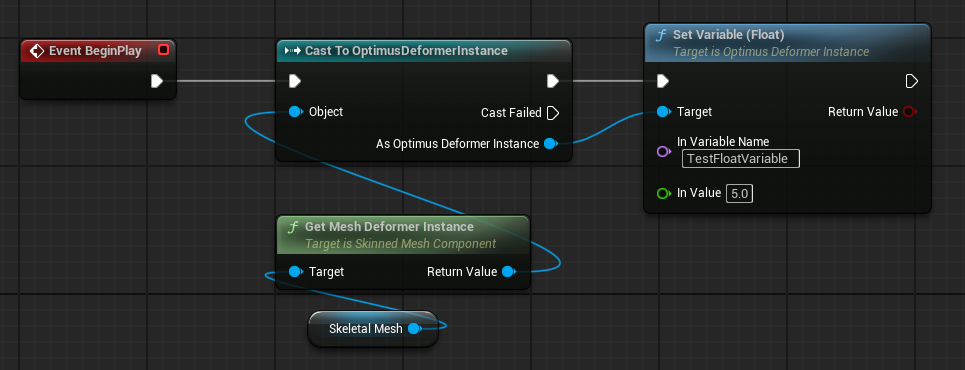
Note that in my tests this did not work for the Construction Script event. EventGraph and BeginPlay etc are fine though.
 Donate
No comments